
As I had said in my previous post, while making the origami spiral cube, I wanted to retry this model using A5 paper instead of A4. A4 paper resulted in a fairly large cube which wasn't very appealing to me.
The coronavirus lockdown has given me ample time, so I decided to redo the model, using some lovely kami paper that I had. The paper turned out perfect for this model, since it was light enough that I could fold the spirals and assemble it easily.
Usually smaller origami models are more difficult to do than bigger ones, but in this model, I found the smaller one easier to assemble! Mainly because it was small enough to hold in hand while folding. I would definitely recommend the A5 size to the A4!
Model Details:
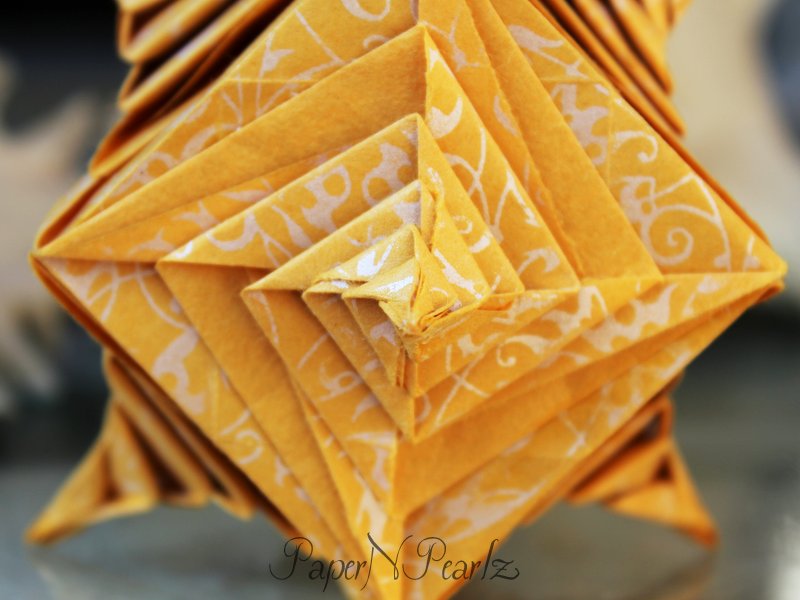
Model: Spiral Cube
Creator: Tomoko Fuse
Book: Let's Fold Spirals
Author: Tomoko Fuse
Difficulty Level: High Intermediate
Paper Ratio: Rectangle
Paper Size: 8.3 inches * 1.45 inches
Model Size: ~2.5 inches across
Number of Modules: 12
Tutorial: kusuda.ru


